This guide and tutorial will show you how to use the freshly released PwnageTool to jailbreak your iPhone 4, iPhone 3GS, or iPhone 3G. There has been a couple jailbreak tools for iOS 4.1 released recently but only PwnageTool will preserve your baseband allowing you to update to a jailbroken 4.1, while still preserving your baseband so you can unlock.
PwnageTool is available for Mac only. If you don’t have a Mac, try to find a friend who does, and simply use his computer to cook the firmware. This guide was written using an iPhone 4 but the steps are the same, no matter what iPhone model you have (only the firmware downloaded will change).
This being said, make sure to follow this guide to jailbreak your iPhone iOS 4.1 with PwnageTool. As always when hacking your iPhone, you are proceeding at your own risks…
Step 1: Download PwnageTool from our iPhone downloads section. You will need a torrent downloader (ie. uTorrent) to download the file. Download iOS 4.1 for your iPhone from our download page as well.
Step 2: Make sure iTunes is up to date. If not, update iTunes and reboot your computer.
Step 3: Sync your iPhone in iTunes in order to backup everything, just in case something goes wrong. When the sync is done, close iTunes and leave your iPhone connected to your computer via USB.
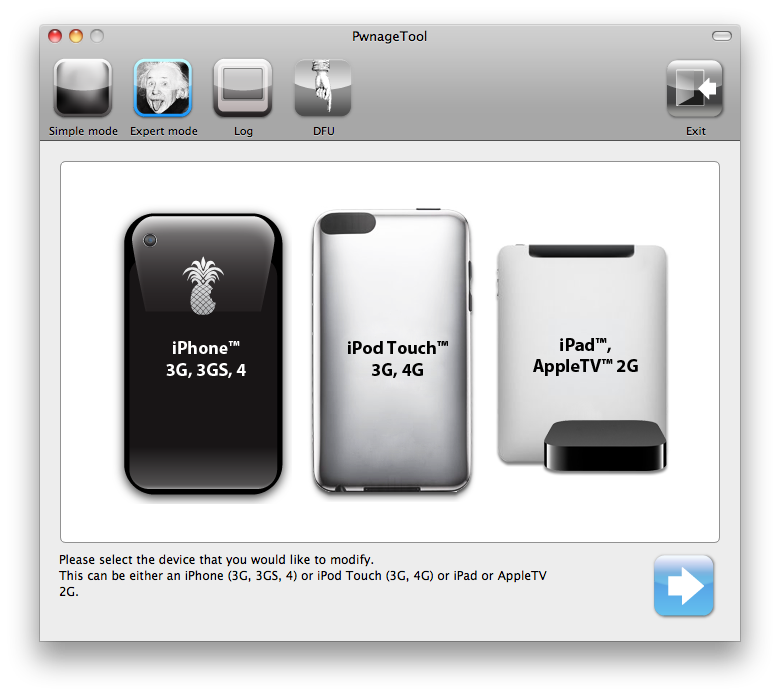
Step 4: Launch PwnageTool. For the purpose of this tutorial, we will choose to use the expert mode. Select Expert Mode, then select your iPhone. Click the blue arrow to continue.
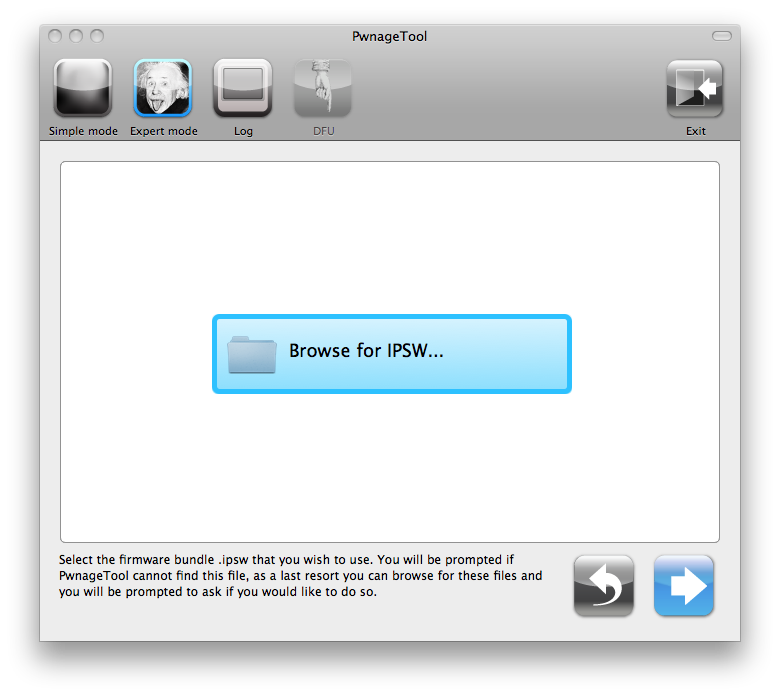
Step 5: Select “Browse for IPSW” then click the blue arrow. A window will popup letting you choose the firmware you downloaded in step 1.
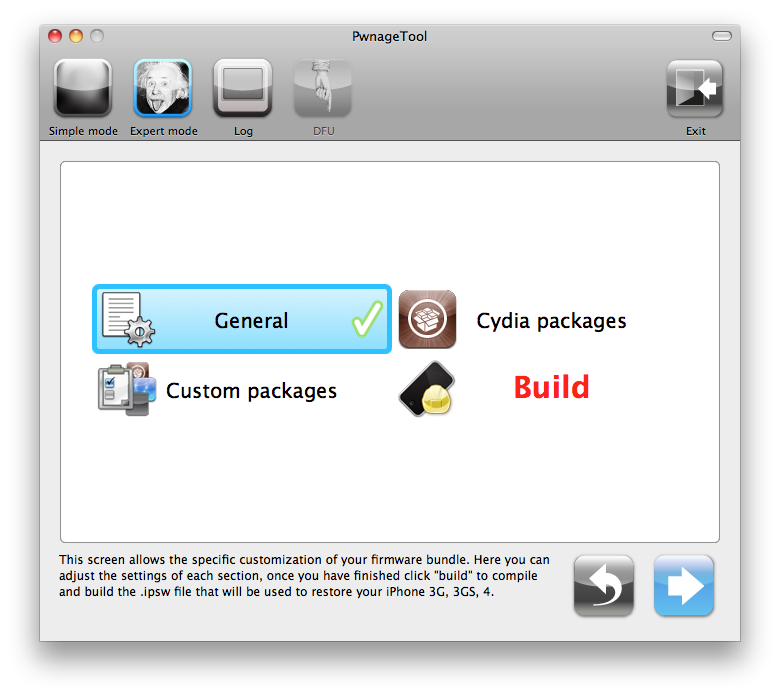
Step 6: You will then be presented several options. Selecte “general” and click the blue arrow to continue.
Under General, you can choose if you want to activate your phone. You should only do that if you are using an unofficial carrier and want to unlock your iPhone. If you are using an official carrier (like AT&T in the US), you don’t need to select “activate”.
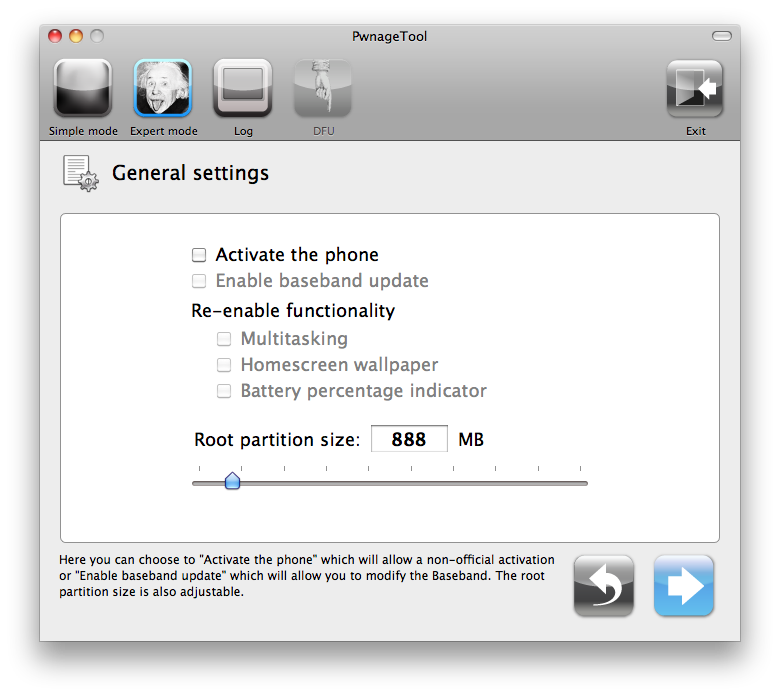
Click the blue arrow to continue.
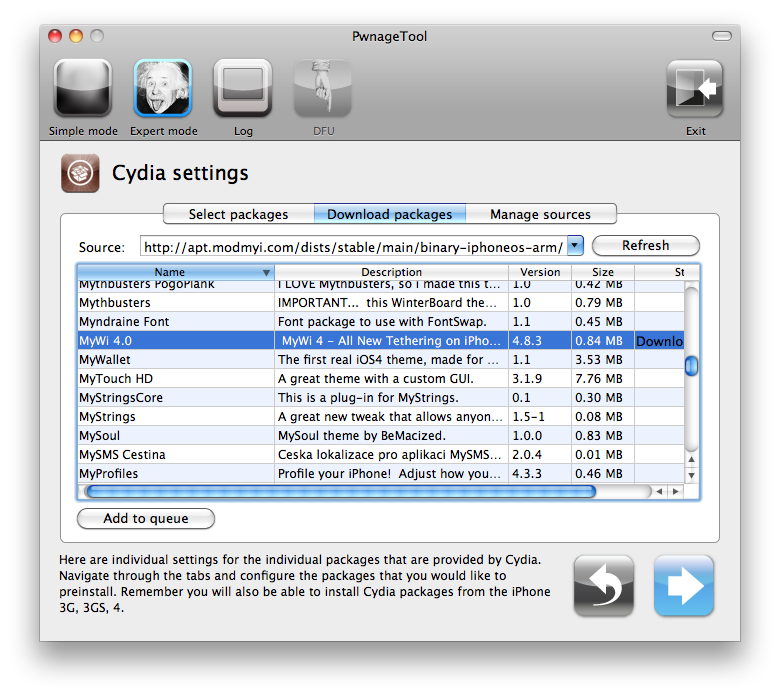
Step 7: You will then be taken to the Cydia Settings page. Click the “download packages” tab, and click refresh. This step will allow you to pre-install jailbreak apps on your iPhone. Select the package you want to pre-install and click “add to queue”. Click the blue arrow when you’re done.
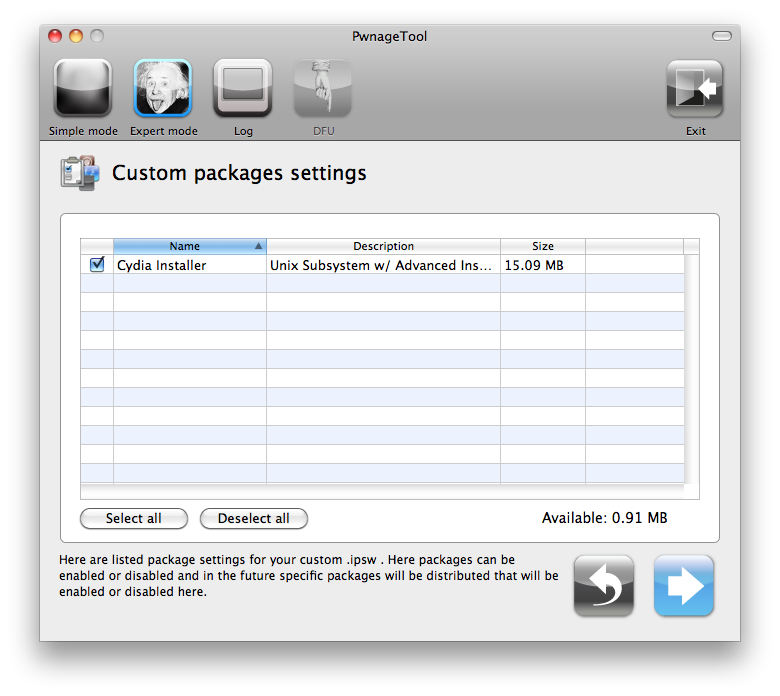
Step 8: You will then be taken to the “custom packages settings”. Cydia Installer should be selected by default. If not, make sure to select it, then click the blue arrow to continue.
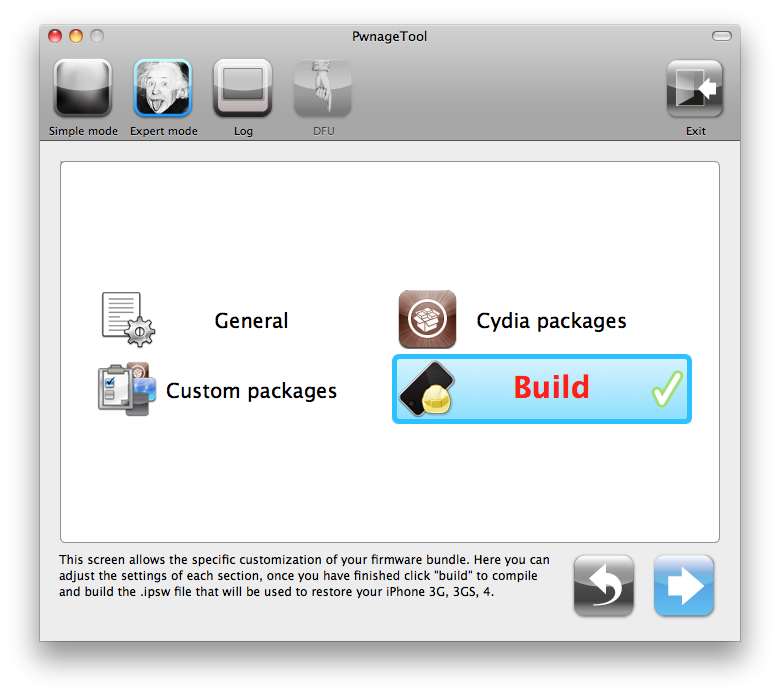
Step 9: Hit the “build” button and click the blue arrow to continue.
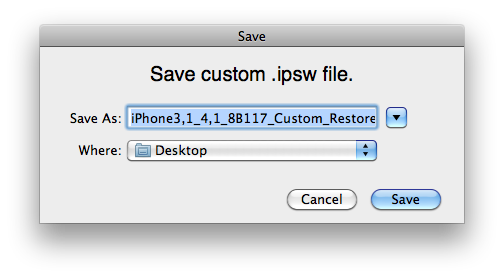
Step 10: PwnageTool will ask you where you want to choose your custom IPSW. I chose to save it to my desktop.
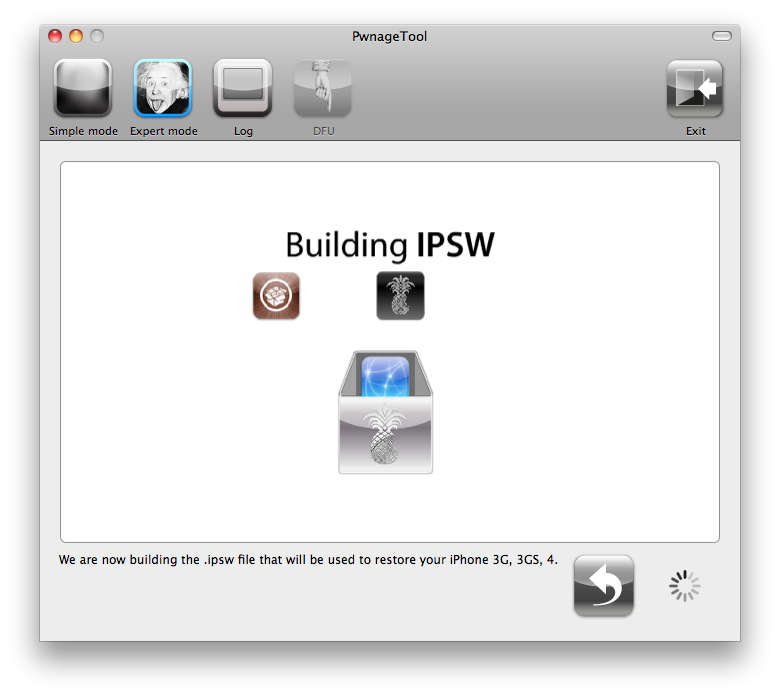
Step 11: PwnageTool will now start building your custom IPSW. It will probably ask you for your admin password. This step should take a couple minutes.
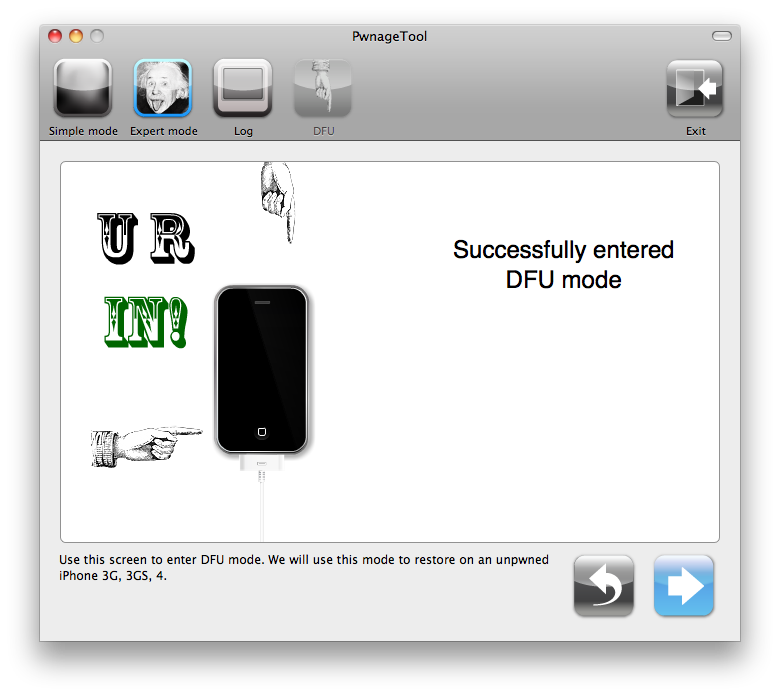
Step 12: PwnageTool will then help you enter DFU mode. It will make a funny sound and will instruct you to get your iPhone in DFU mode. Simply follow the onscreen prompts: hold power and home button together for 10 seconds ; release power button while still holding the home button. When done, PwnageTool will tell you to go and restore in iTunes.
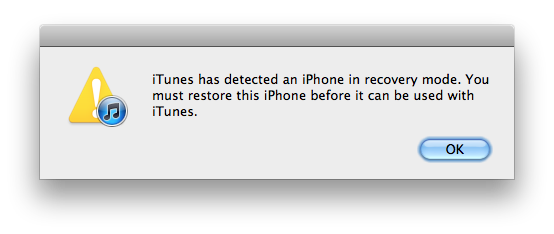
Step 13: Once you launch iTunes, it will tell you it has found an iPhone in Recovery Mode. Click OK to continue.
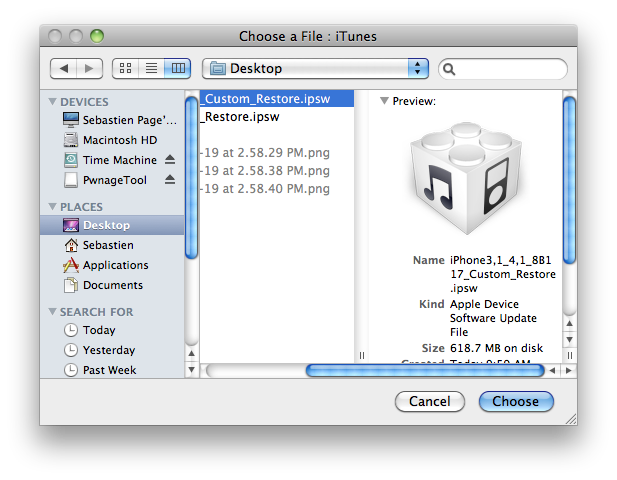
Step 14: Now that you have your custom cooked firmware, you need to install this firmware on your iPhone. Hold the “Alt/Option” key and click “Restore” at the same time. DO NOT click “Restore” without holding the “Alt/Option” key! A dialog box will pop up and you’ll be able to choose the custom IPSW file you created.
Step 15: iTunes will give you the following message. Click ok to proceed.
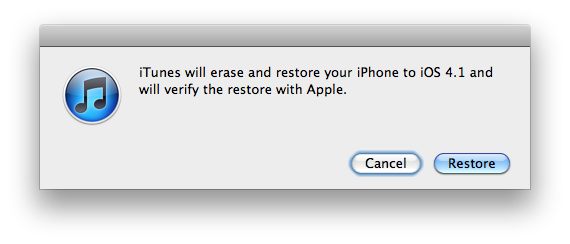
Step 16: iTunes will now restore your iPhone using the cooked iOS 4.1 firmware. This process might take a few minutes so be patient. When done, your iPhone will reboot.
That’s it. You have successfully jailbroken your iPhone using PwnageTool. You can now use UltraSn0w to unlock your iPhone if necessary.